Configure Point Icons
In QGIS, you can use SVG markers or raster image markers as icons for point layers, and Kumoy will display them on the web map. This page explains how to set them up.
Set the Icon Symbol#
-
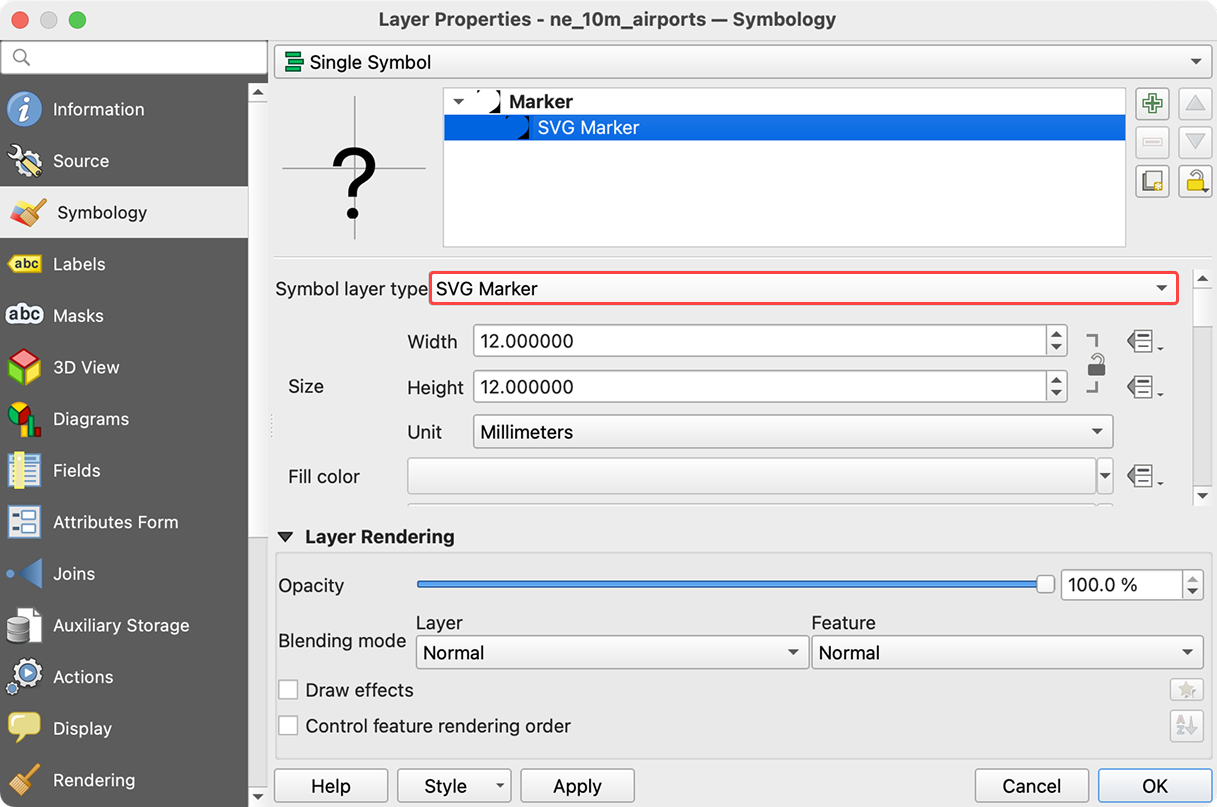
In QGIS, open Layer Properties for the point layer you want to style, and go to the Symbology tab.
-
Set the symbol layer type to SVG marker or Raster image marker.
-
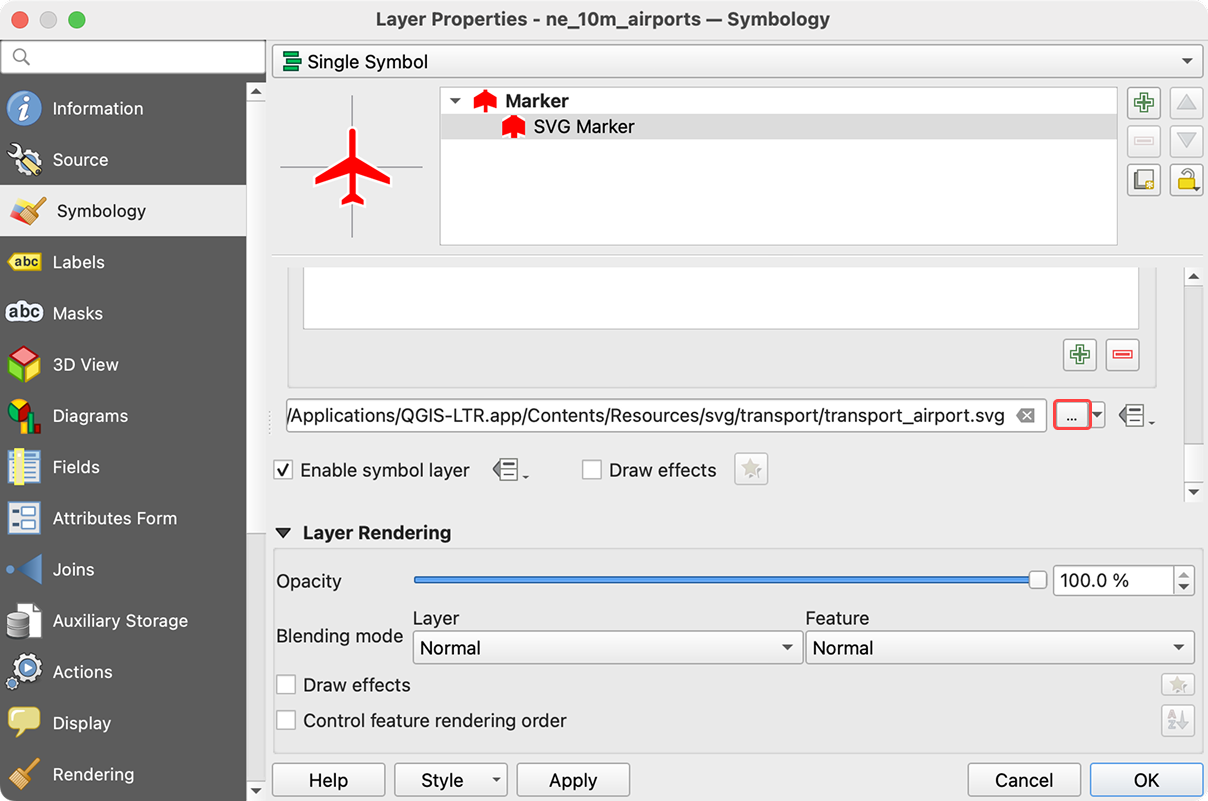
Click ... to choose the SVG or raster image file you want to use as the icon, then save your symbology settings.
-
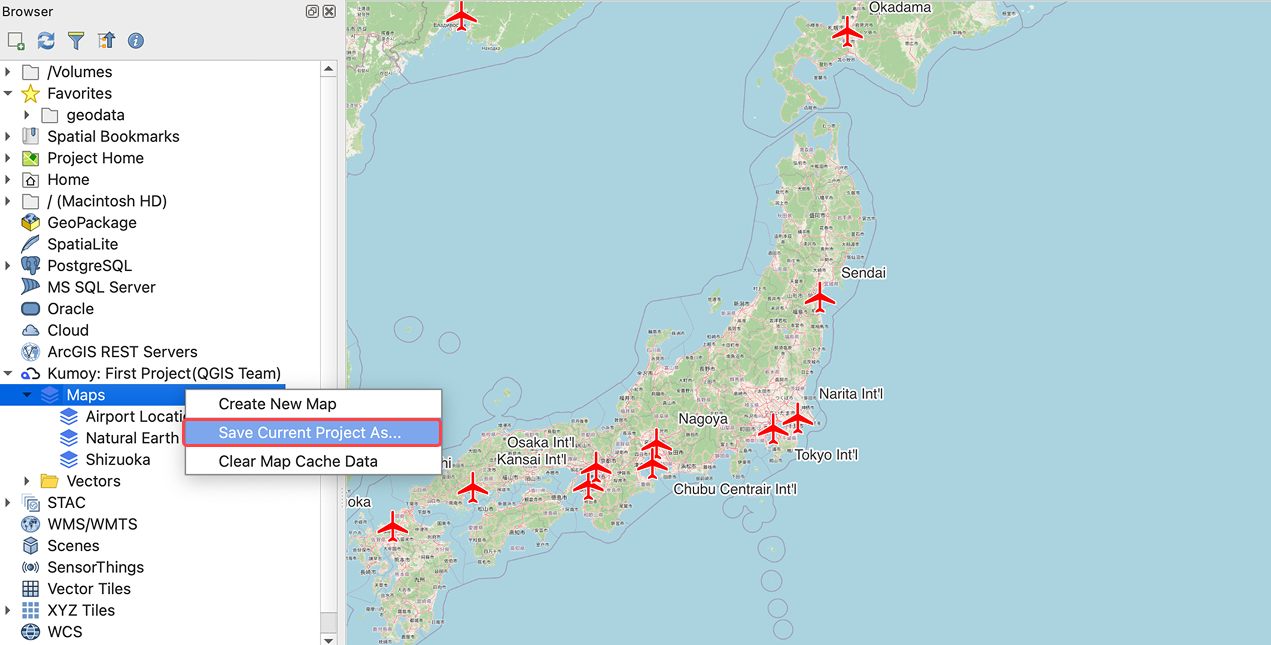
Save the map. Refer to Create a New Map or Save a Map.
-
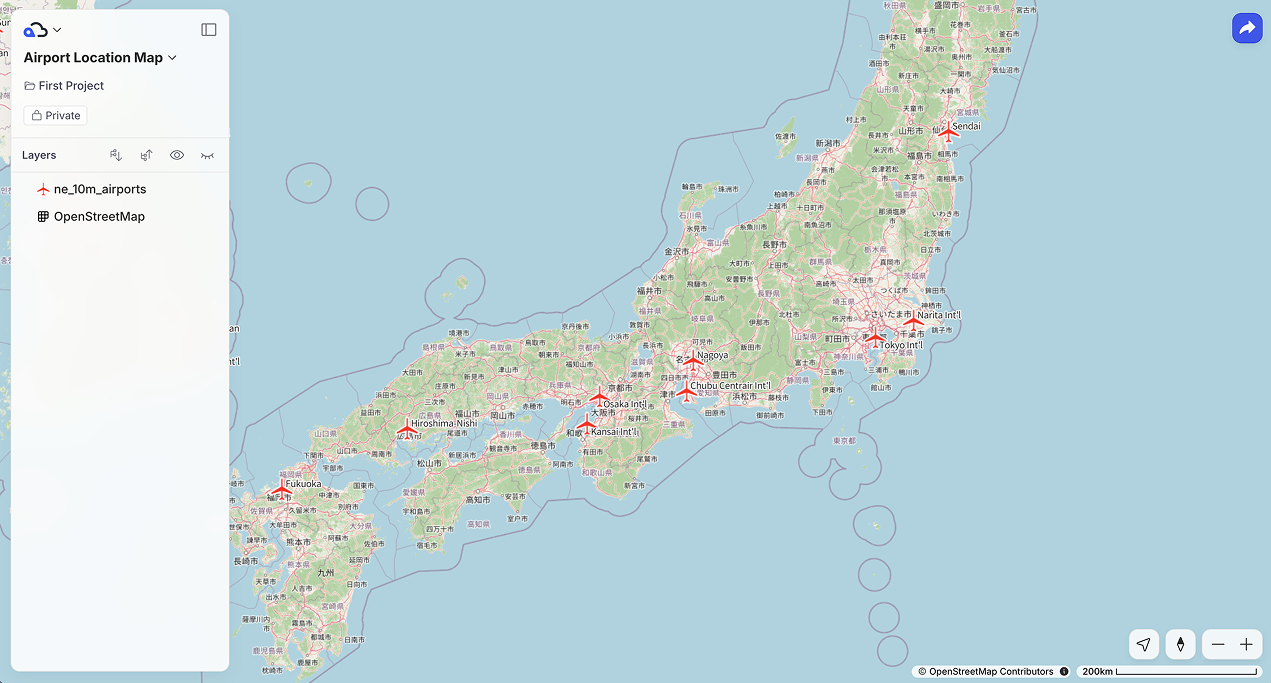
Open the saved map on the web. The icons you configured appear on the map.
Share Icons with Other Users#
When other QGIS users open the same Kumoy map, icons referenced by a local file path do not exist in their environment, so the markers appear broken, like in the image below.
When multiple users use the same icons, you must embed the icon file directly in the project.
TipIcons from the built-in QGIS SVG library can be referenced from each user's QGIS installation, so they do not need to be embedded in the project.
-
Open Layer Properties and go to the Symbology tab.
-
Set the symbol layer type to SVG marker or Raster image marker.
-
Click the dropdown next to the file selector, click Embed file... and select your icon.

-
Save the symbology settings and the map.
ImportantWhen you embed an icon, the icon data is stored inside the project file, which can significantly increase its size. If you use many icons or large image files, prefer compact assets to keep the project lightweight.
Last update: Jul 21, 2026 07:40:43