Create a New Map
A Kumoy map is a QGIS project stored in the cloud. It includes layer data (XYZ Tiles, Kumoy vectors, etc.), style settings, and map extent.
Creating a Map#
There are two ways to create a map in Kumoy:
- Start with an empty map and add data in
- Save an existing QGIS project file as a map
Create an Empty Map#
This workflow starts with a blank map. Then add your data and style your map however you need.
-
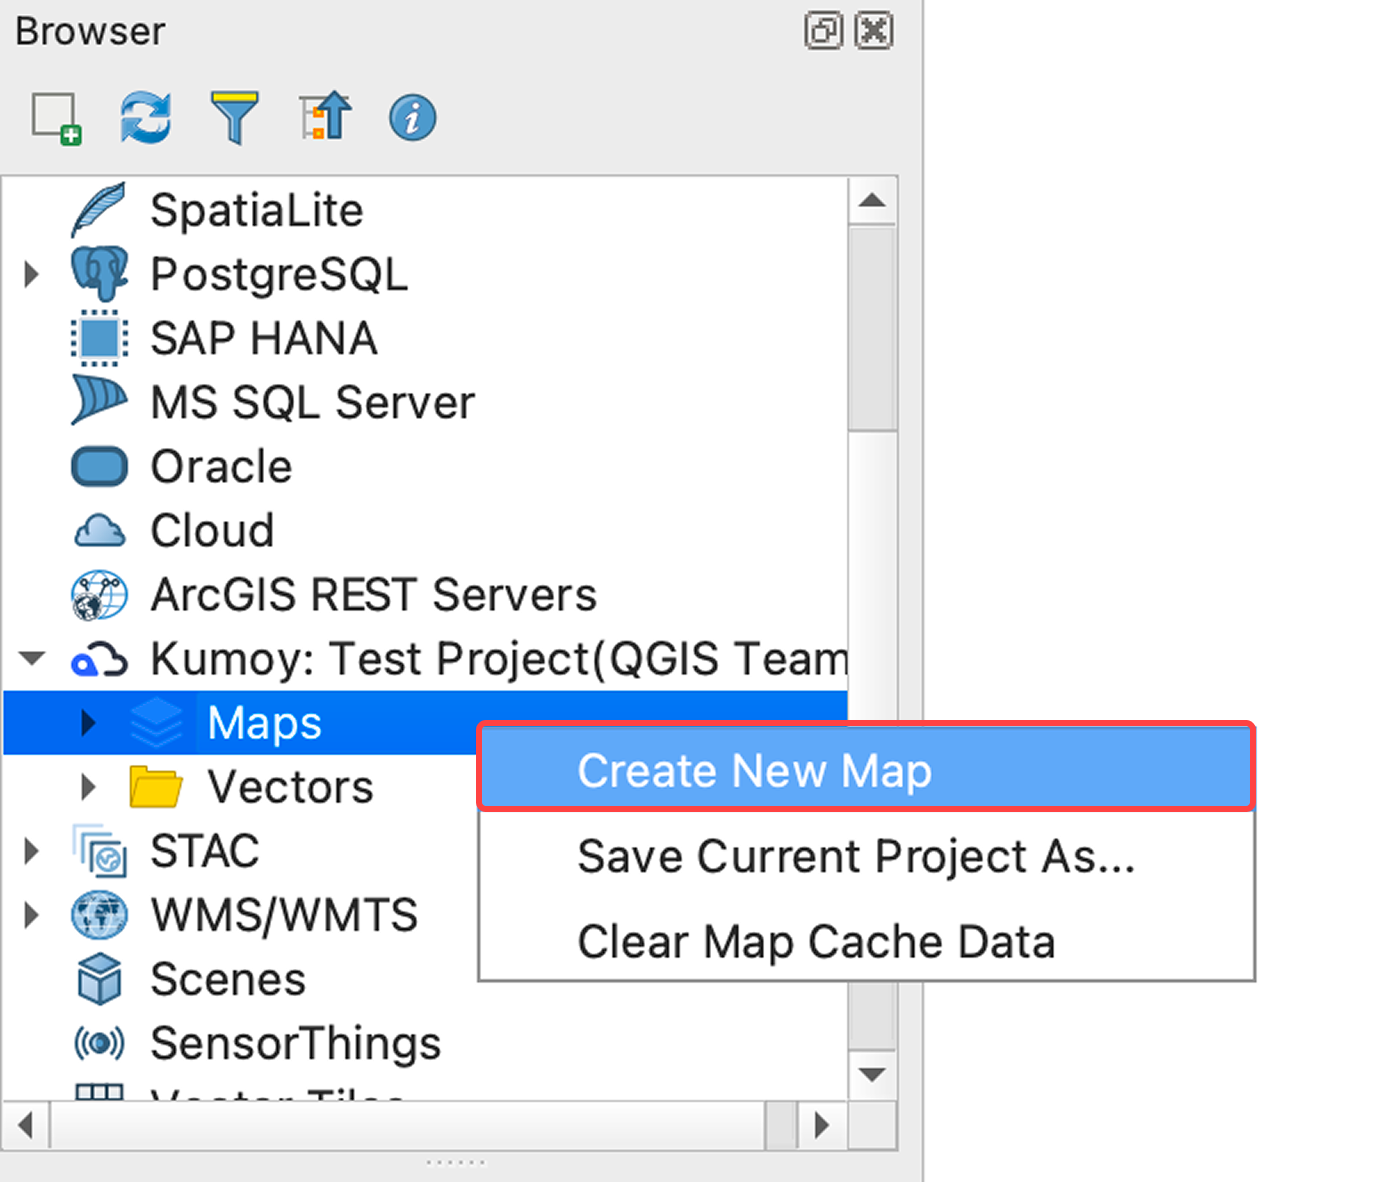
Right-click Maps in the Browser panel and click Create new map.
-
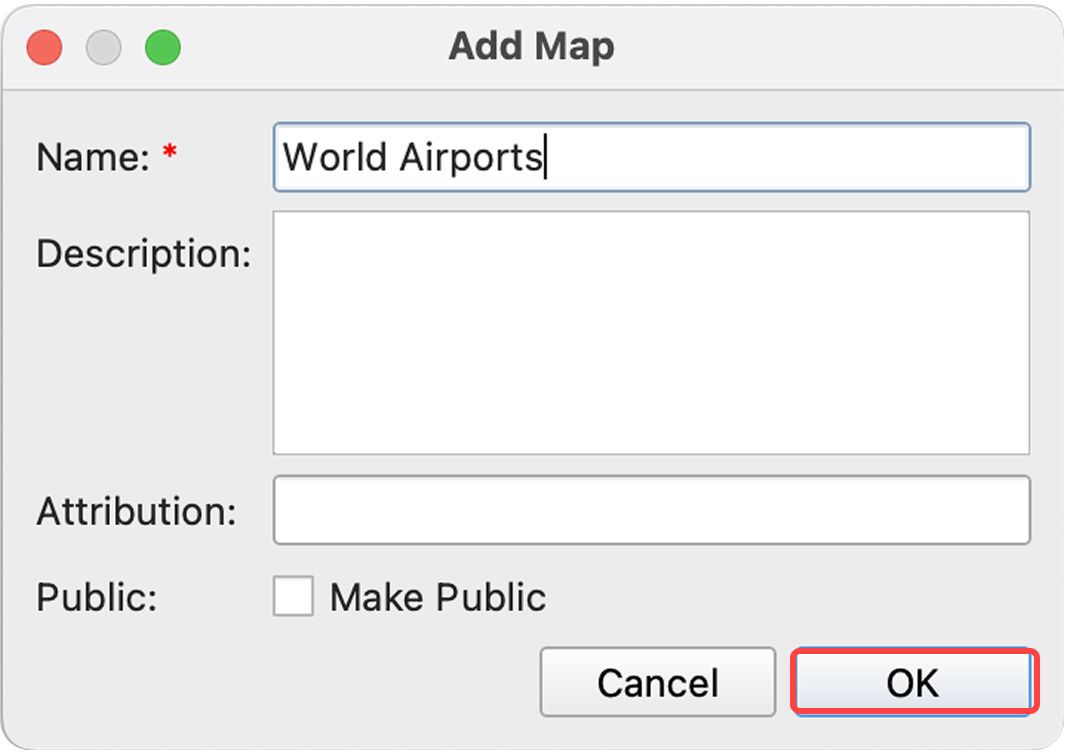
Enter the map name and other details, then click OK.
-
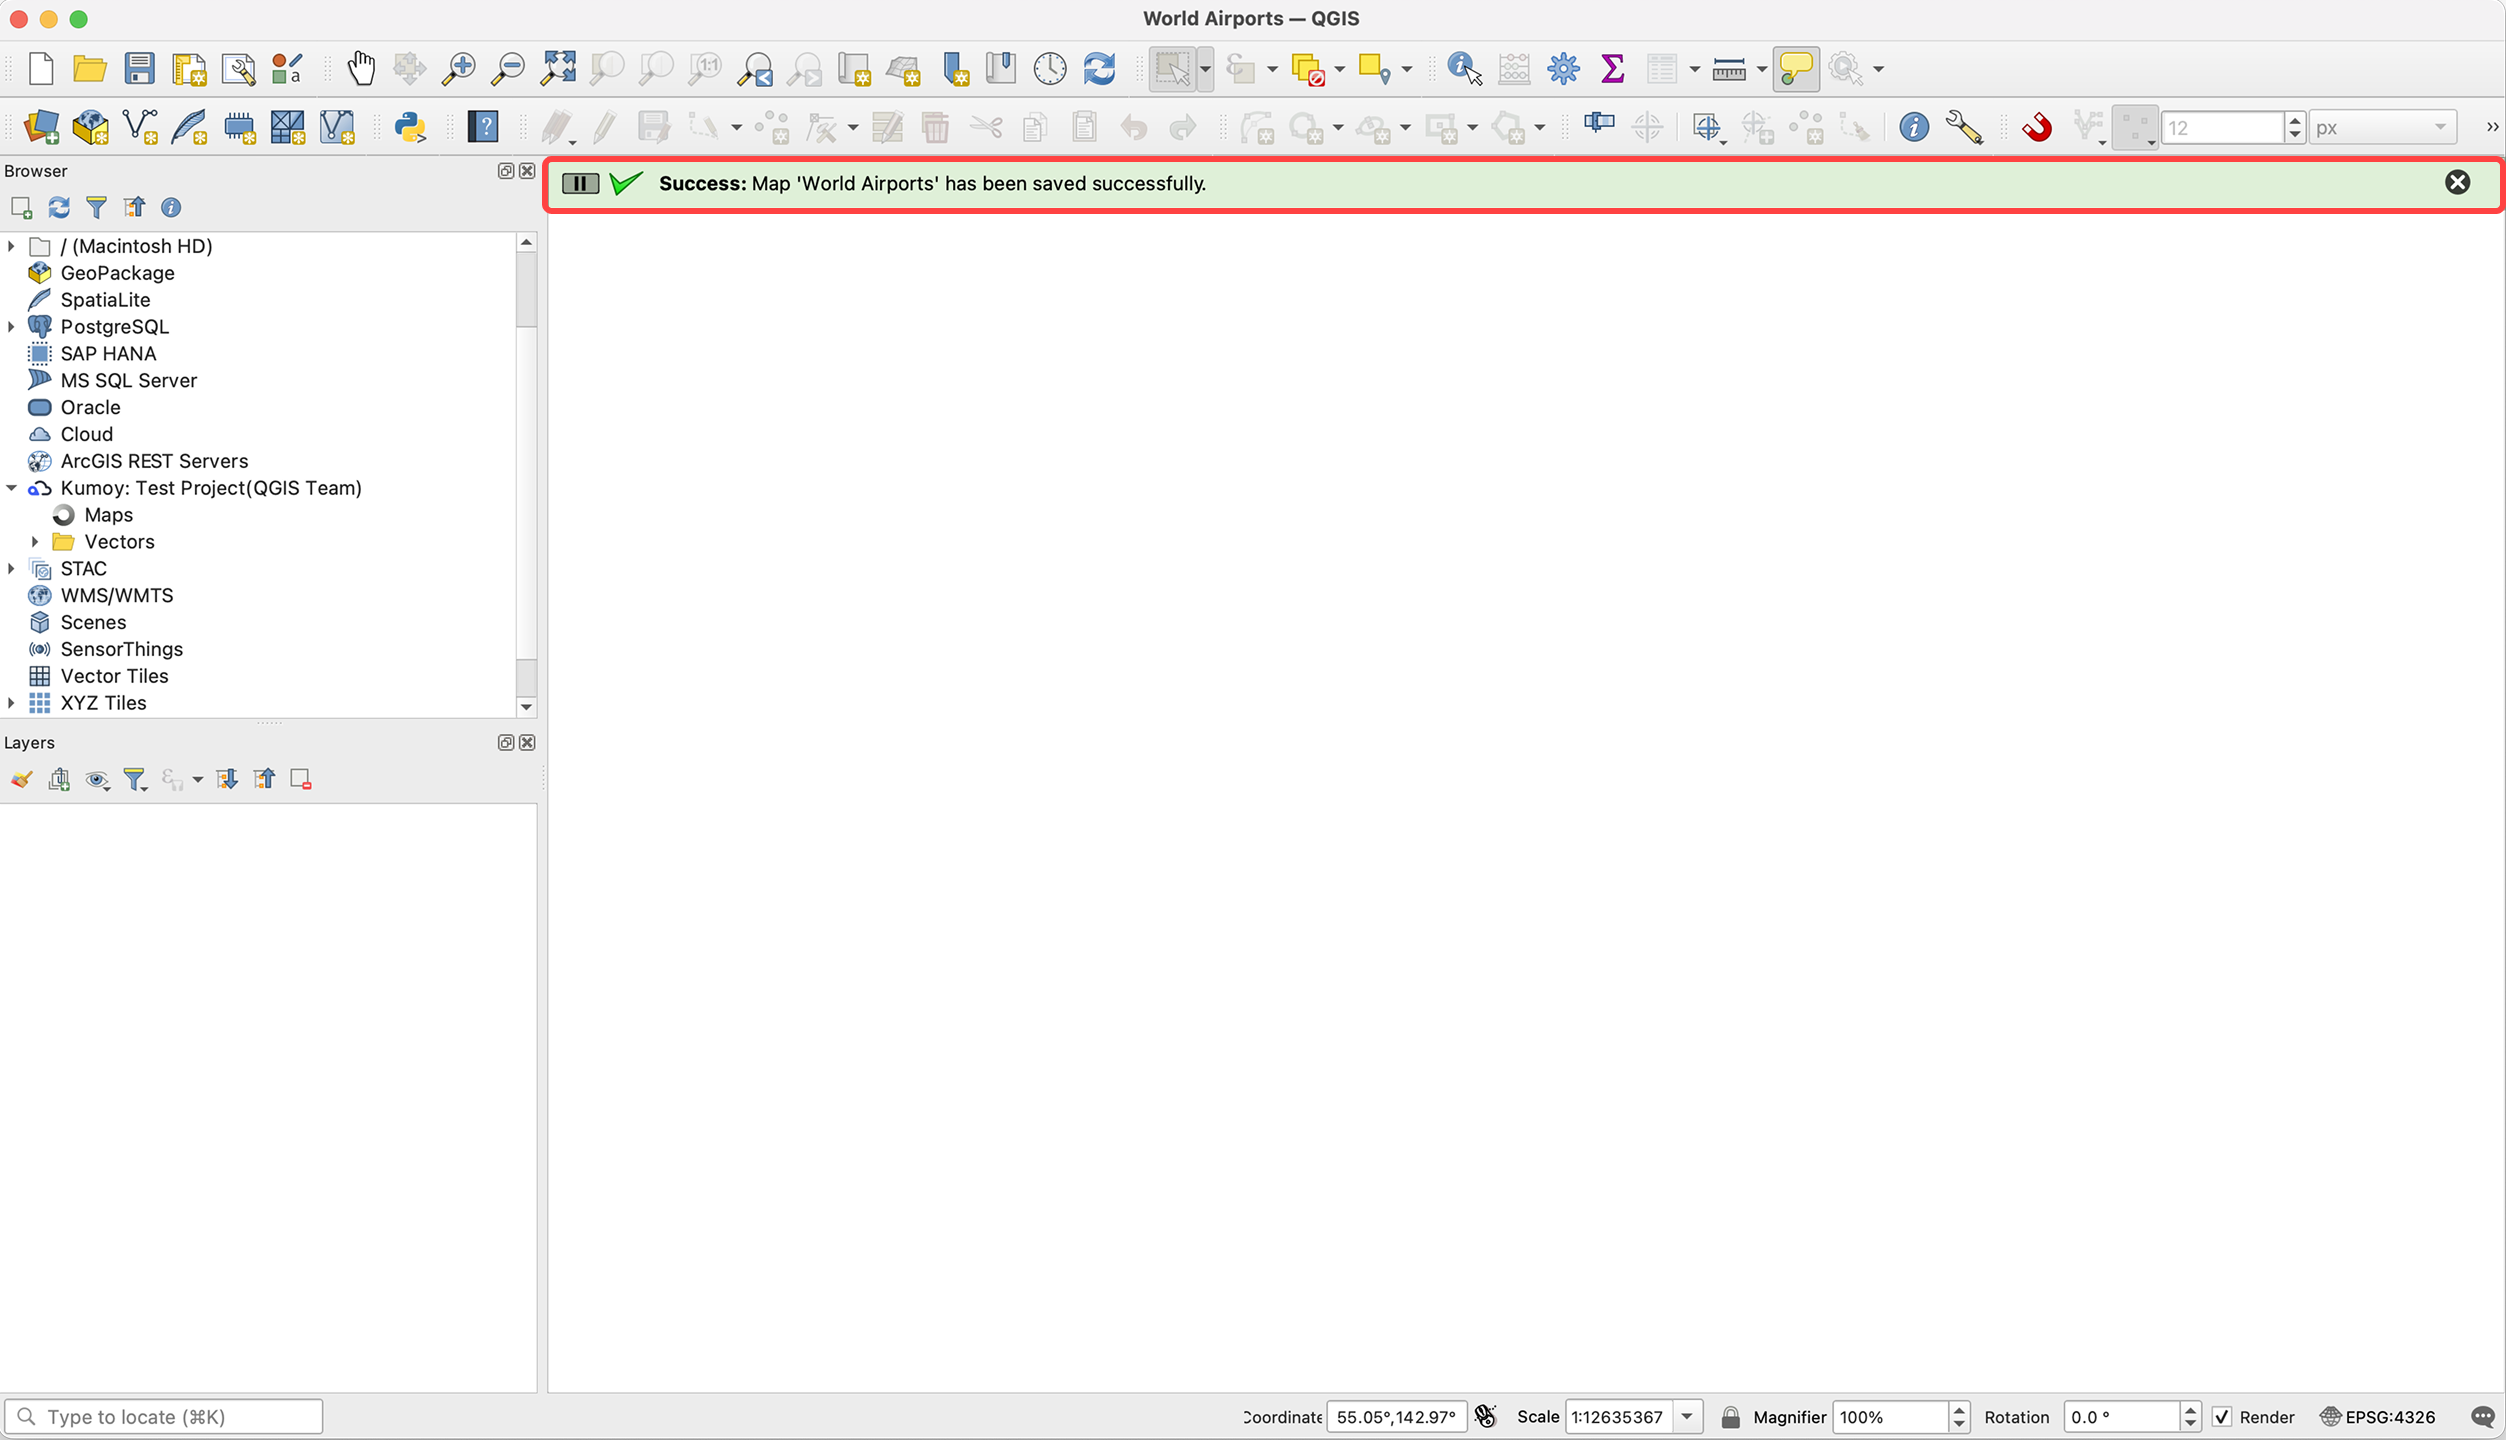
When the map is created, the message "Map saved successfully." appears in the message bar.
-
Use Create a New Vector or Upload a Vector to add Kumoy vectors and place data on this map.
-
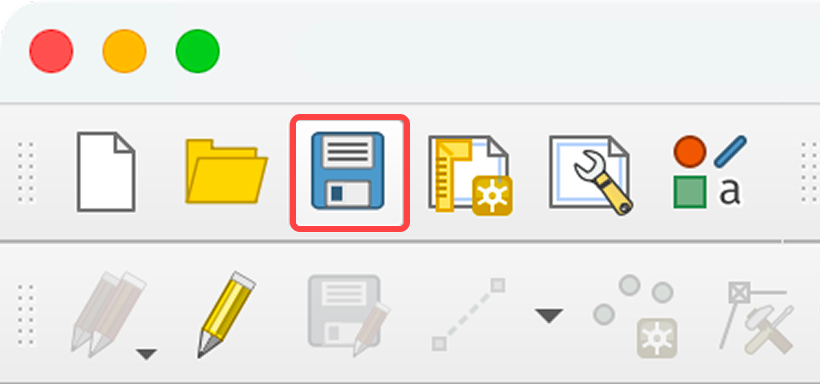
When done, click Save Project in the toolbar to save the map.
Save the Current Project As#
This workflow saves an existing QGIS project as a Kumoy map. If the project contains local vector layers, they will be converted to Kumoy vectors.
-
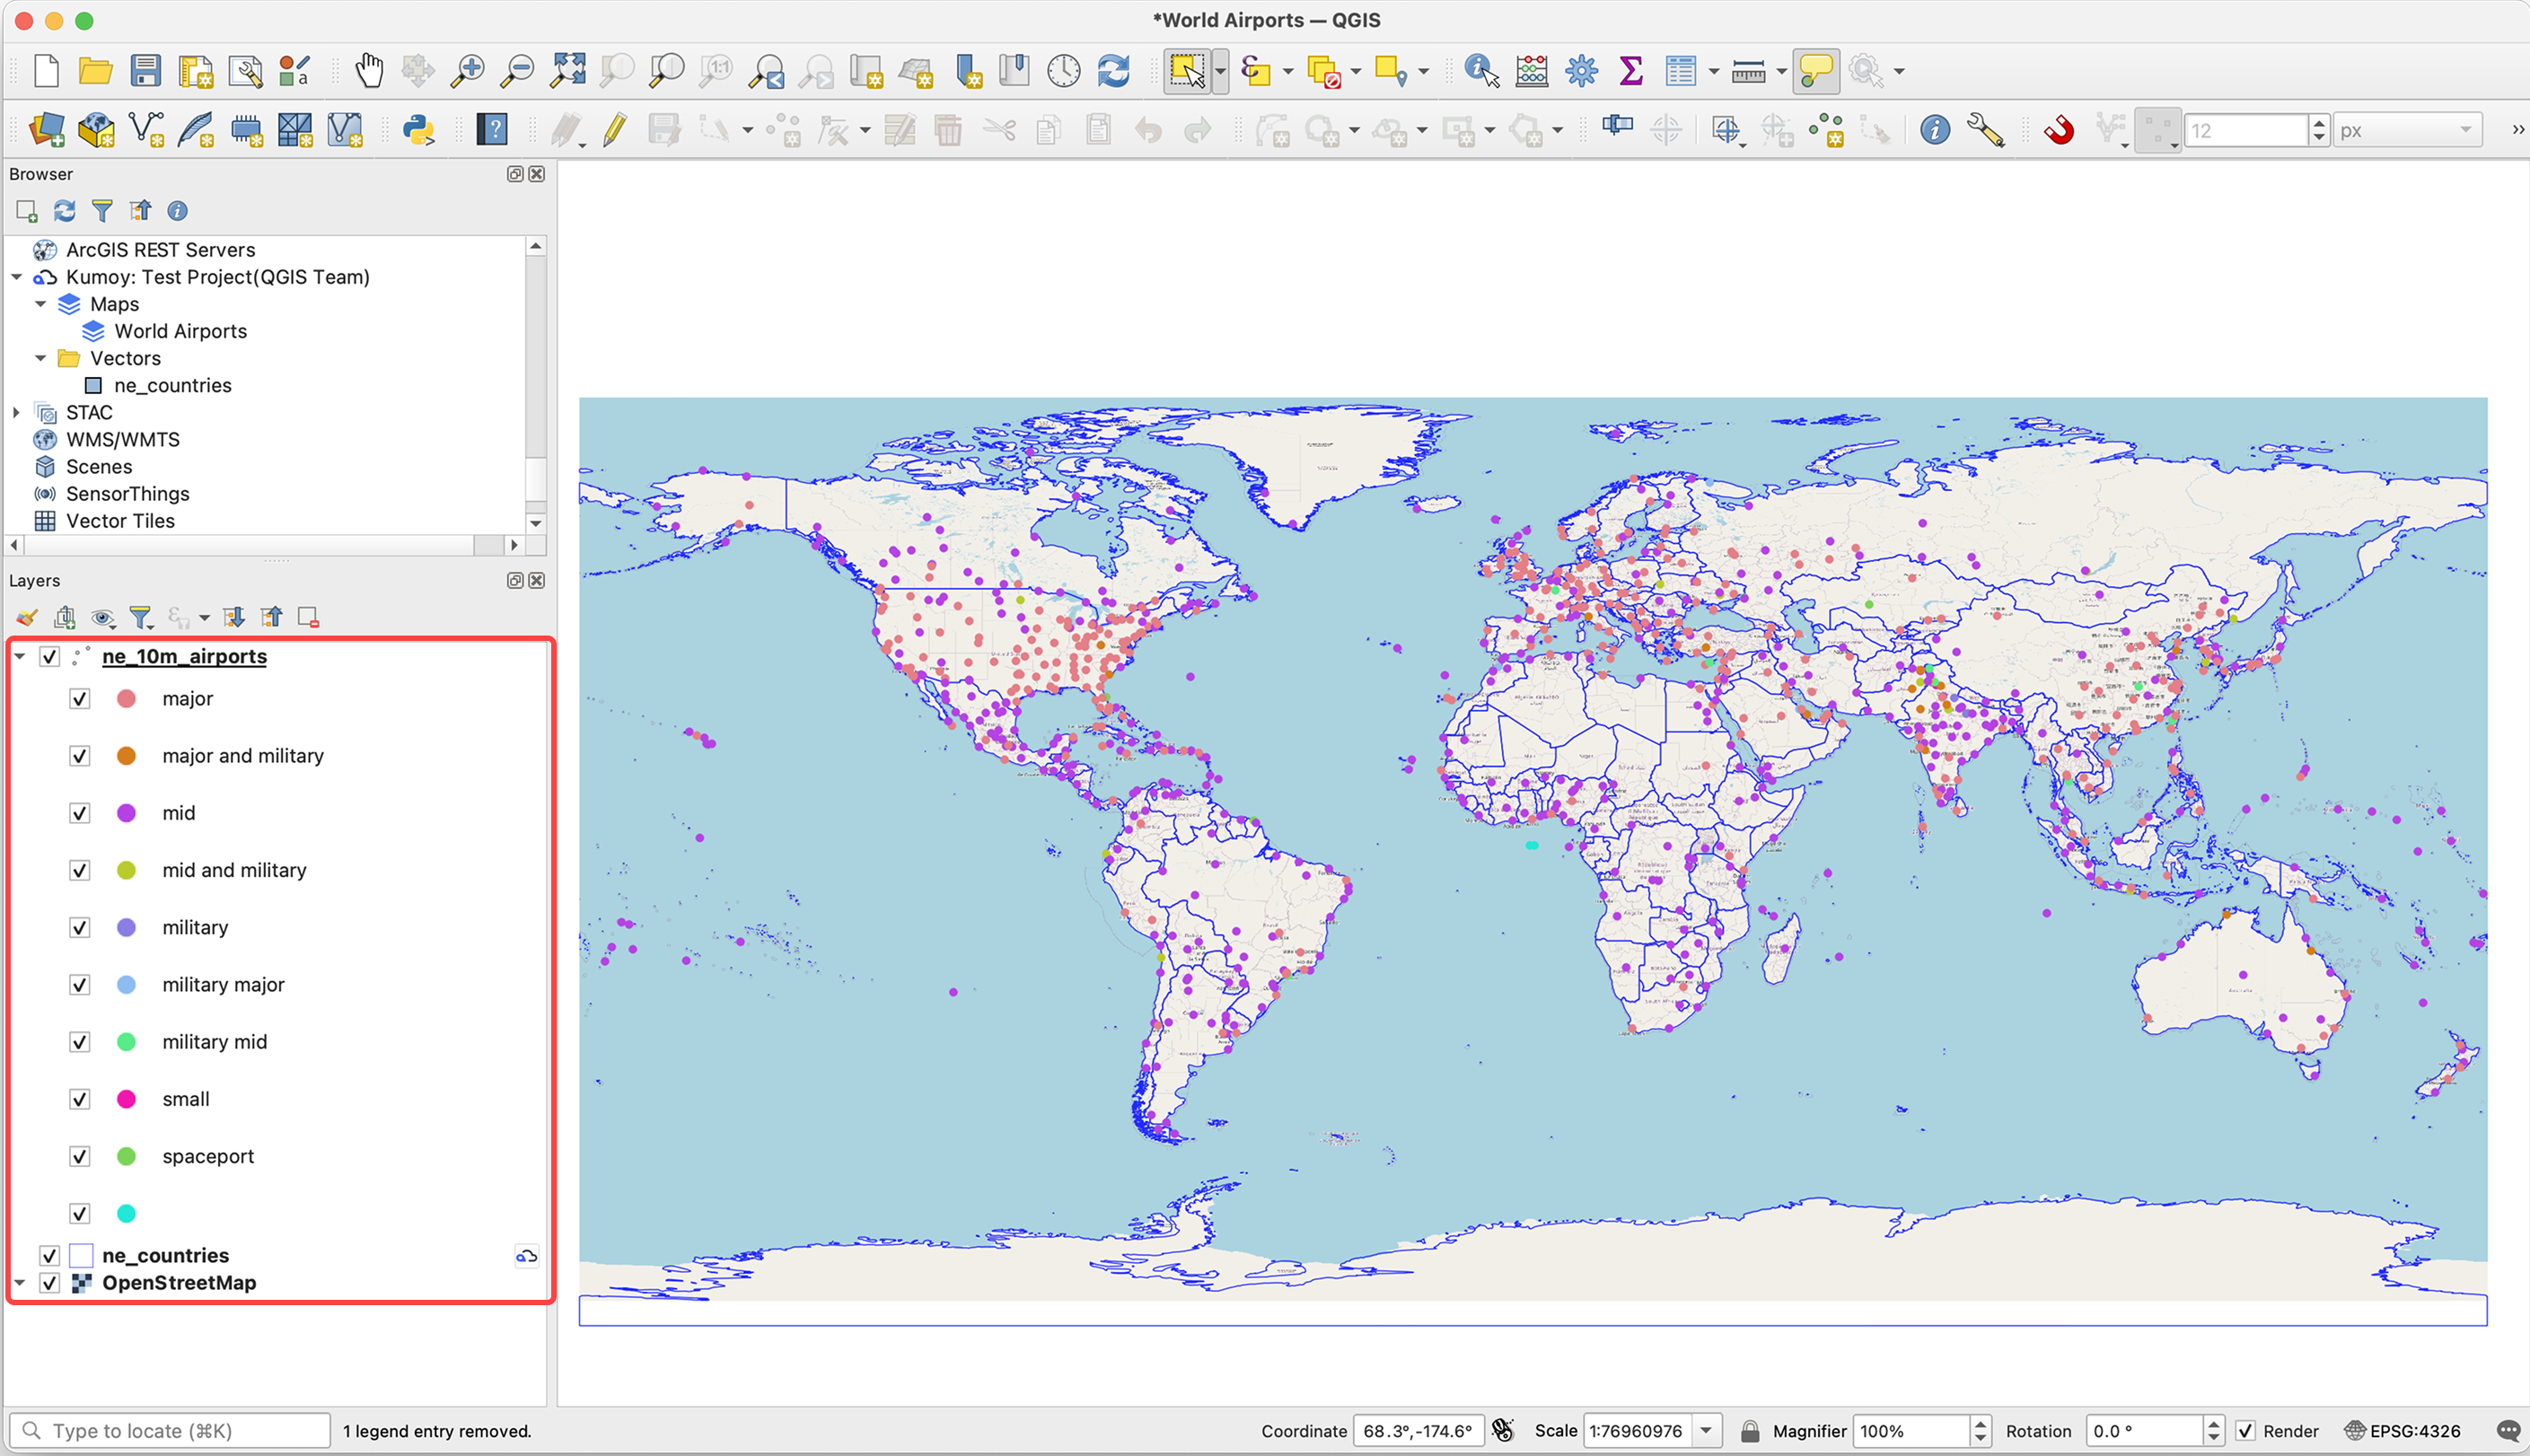
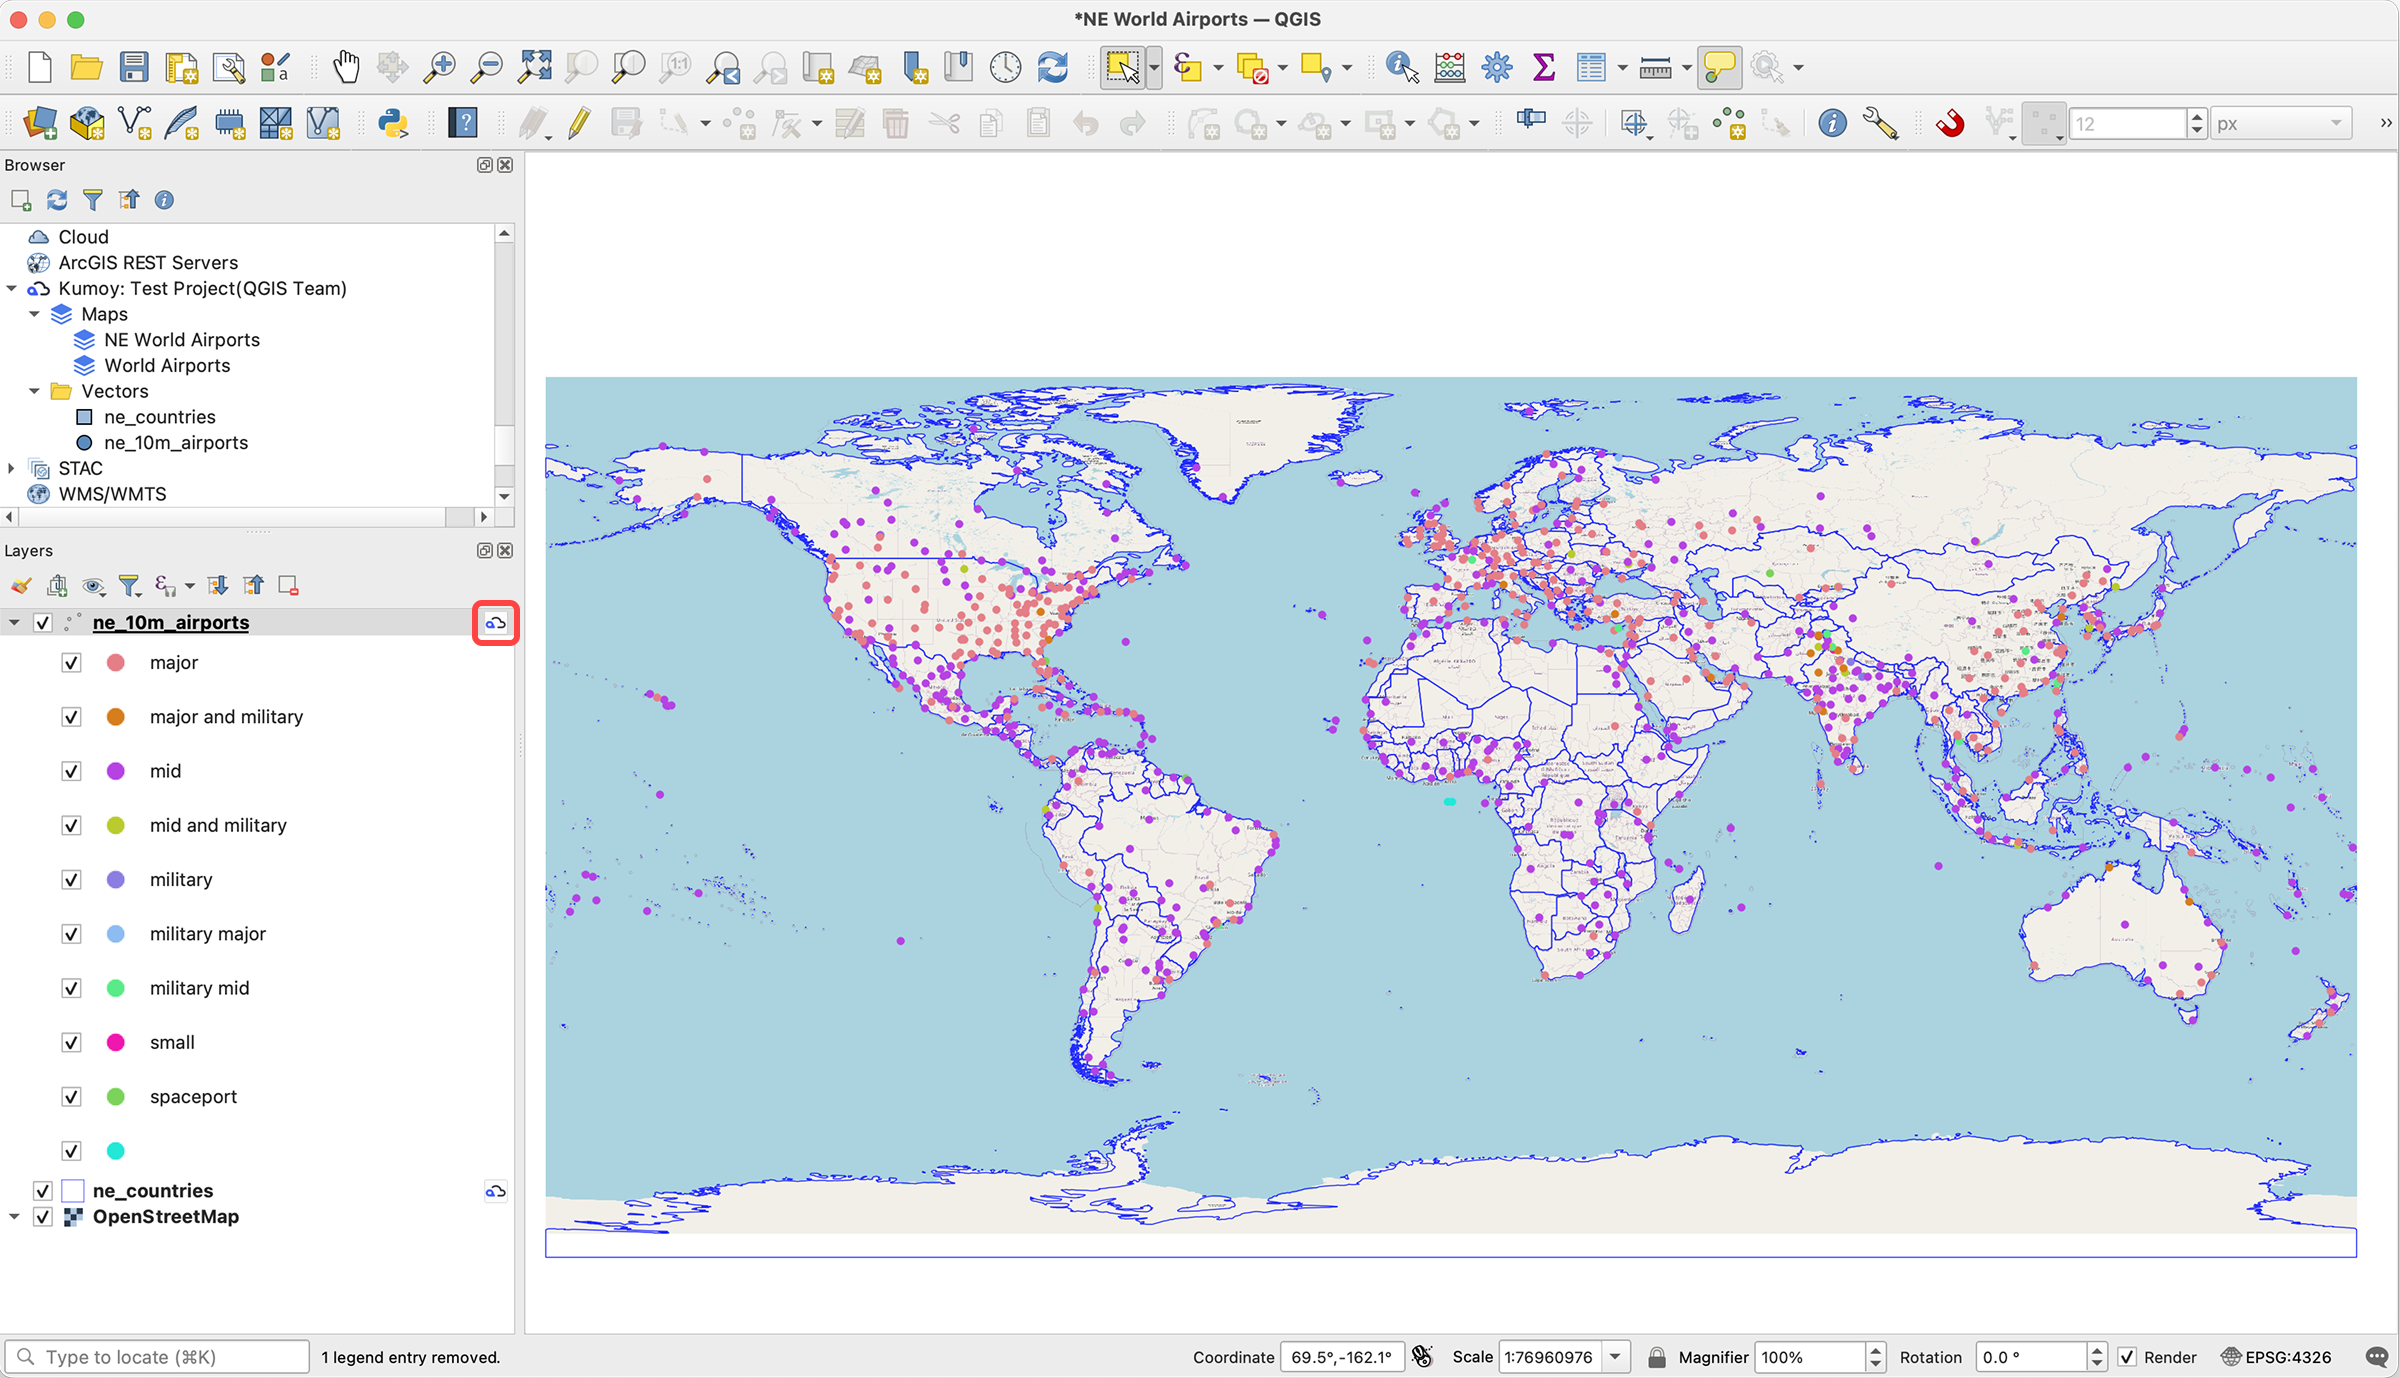
In QGIS, create a map using local vector layers, Kumoy vectors, XYZ Tiles, and other data.
The figure below shows airports (local vector), world country boundaries (Kumoy vector), and OpenStreetMap (XYZ Tiles).
-
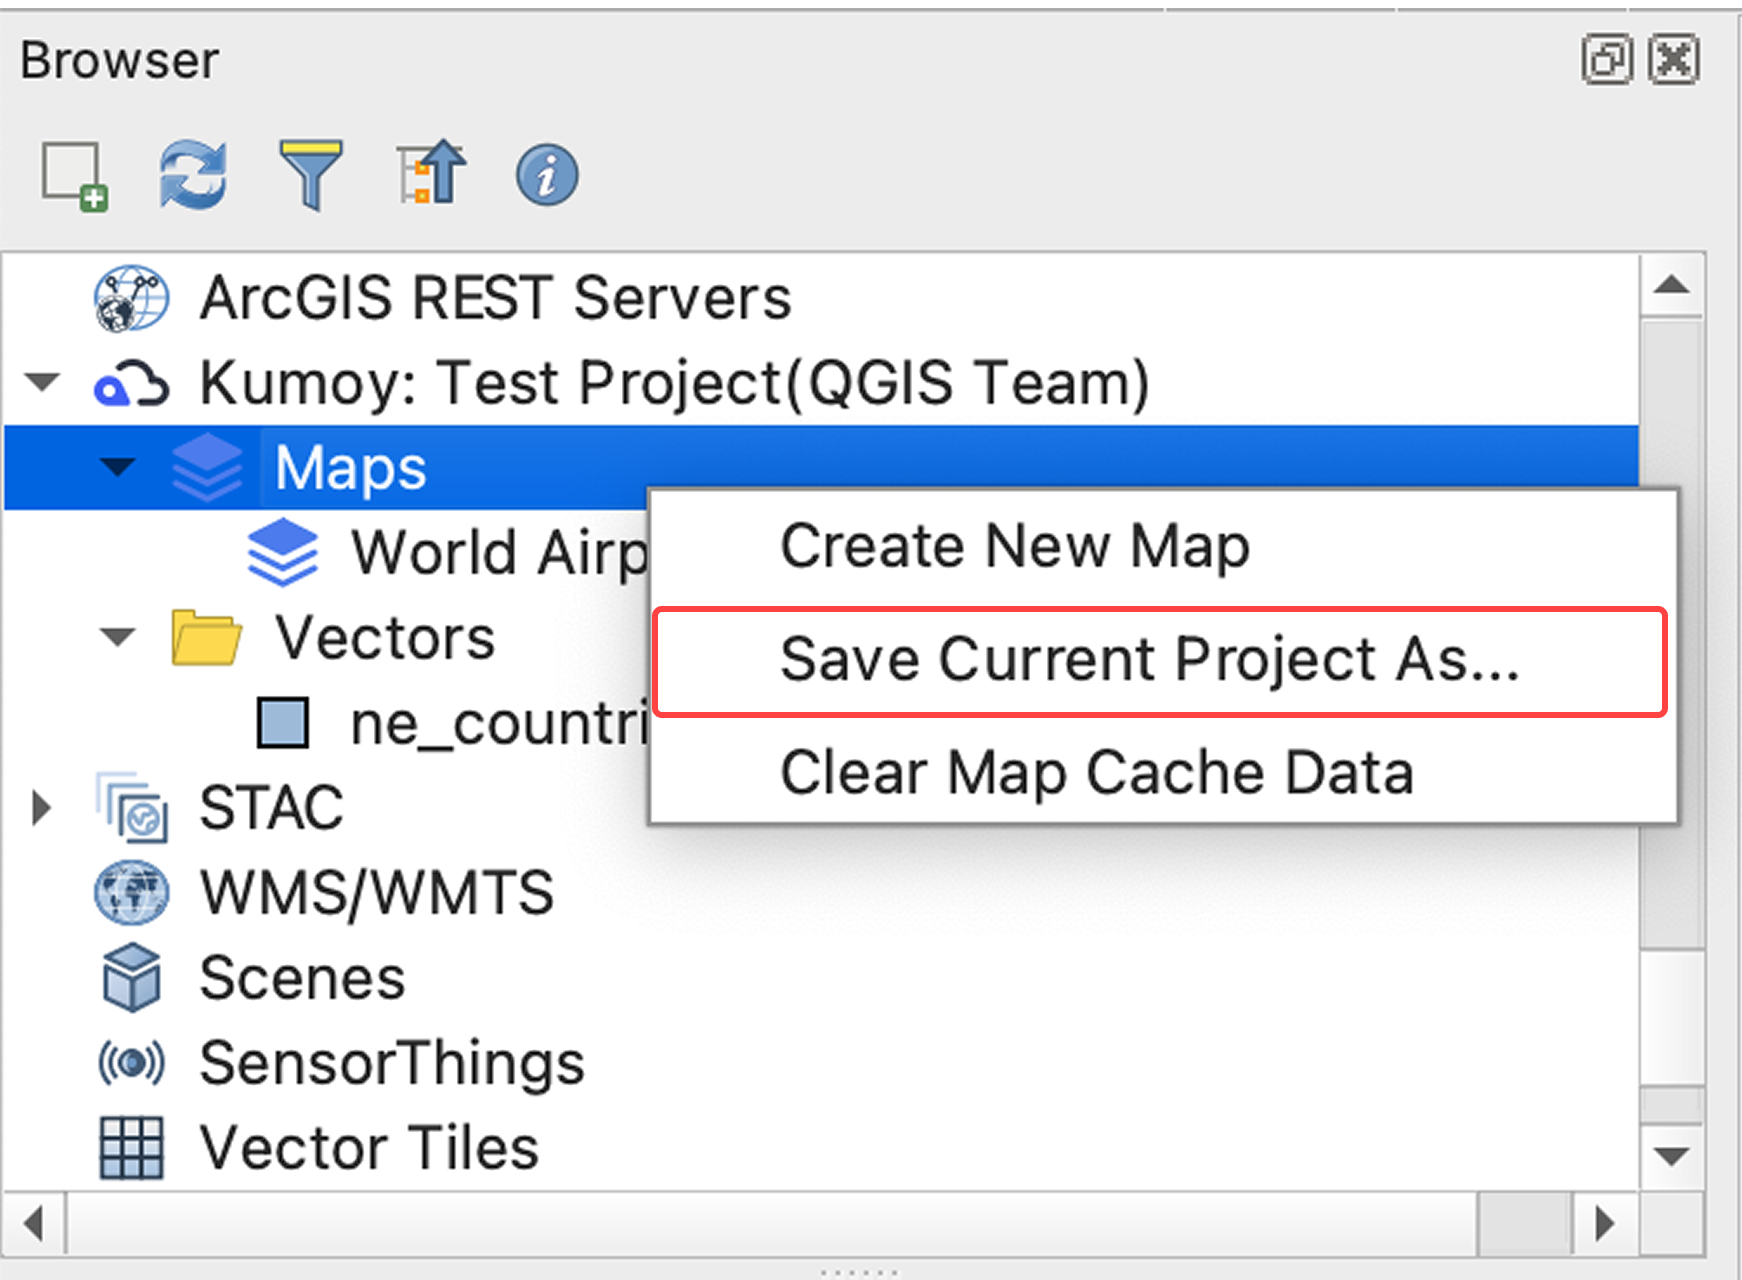
Right-click Maps in the Browser panel and select Save current project as.
-
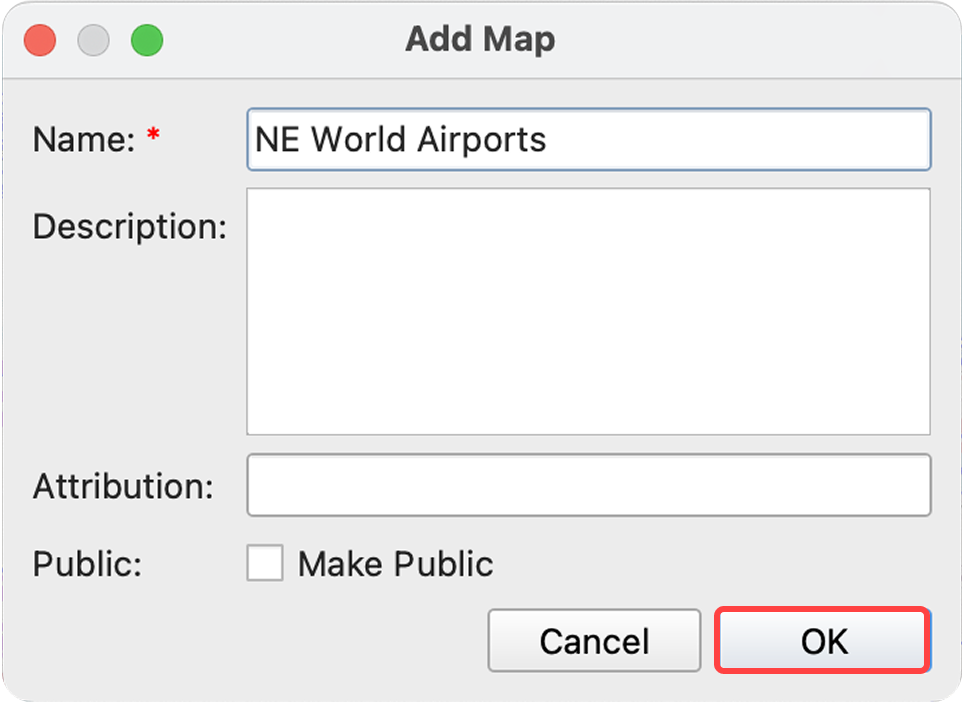
Set the map name and other details, then click OK.
-
If the project contains local vector layers, check the layers you want to convert to Kumoy vectors and click OK.

-
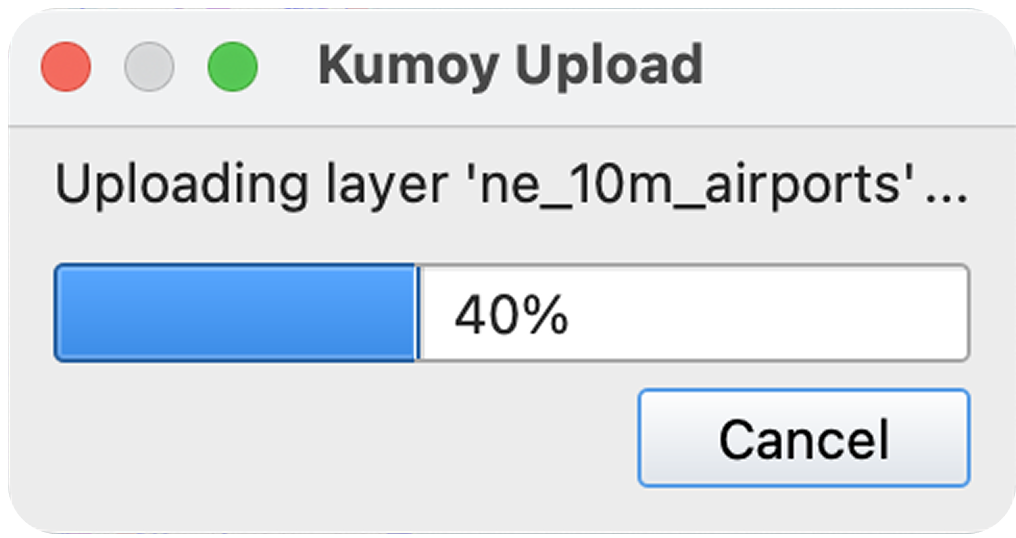
Upload to Kumoy starts.
-
Once the upload is complete, the Kumoy saved project reloads. The Kumoy icon appears on the previously local layers, confirming they have been converted to vectors.
ImportantLocal vector layers can be included in a Kumoy map but won't appear in the web map.
Last update: Jul 21, 2026 07:40:43